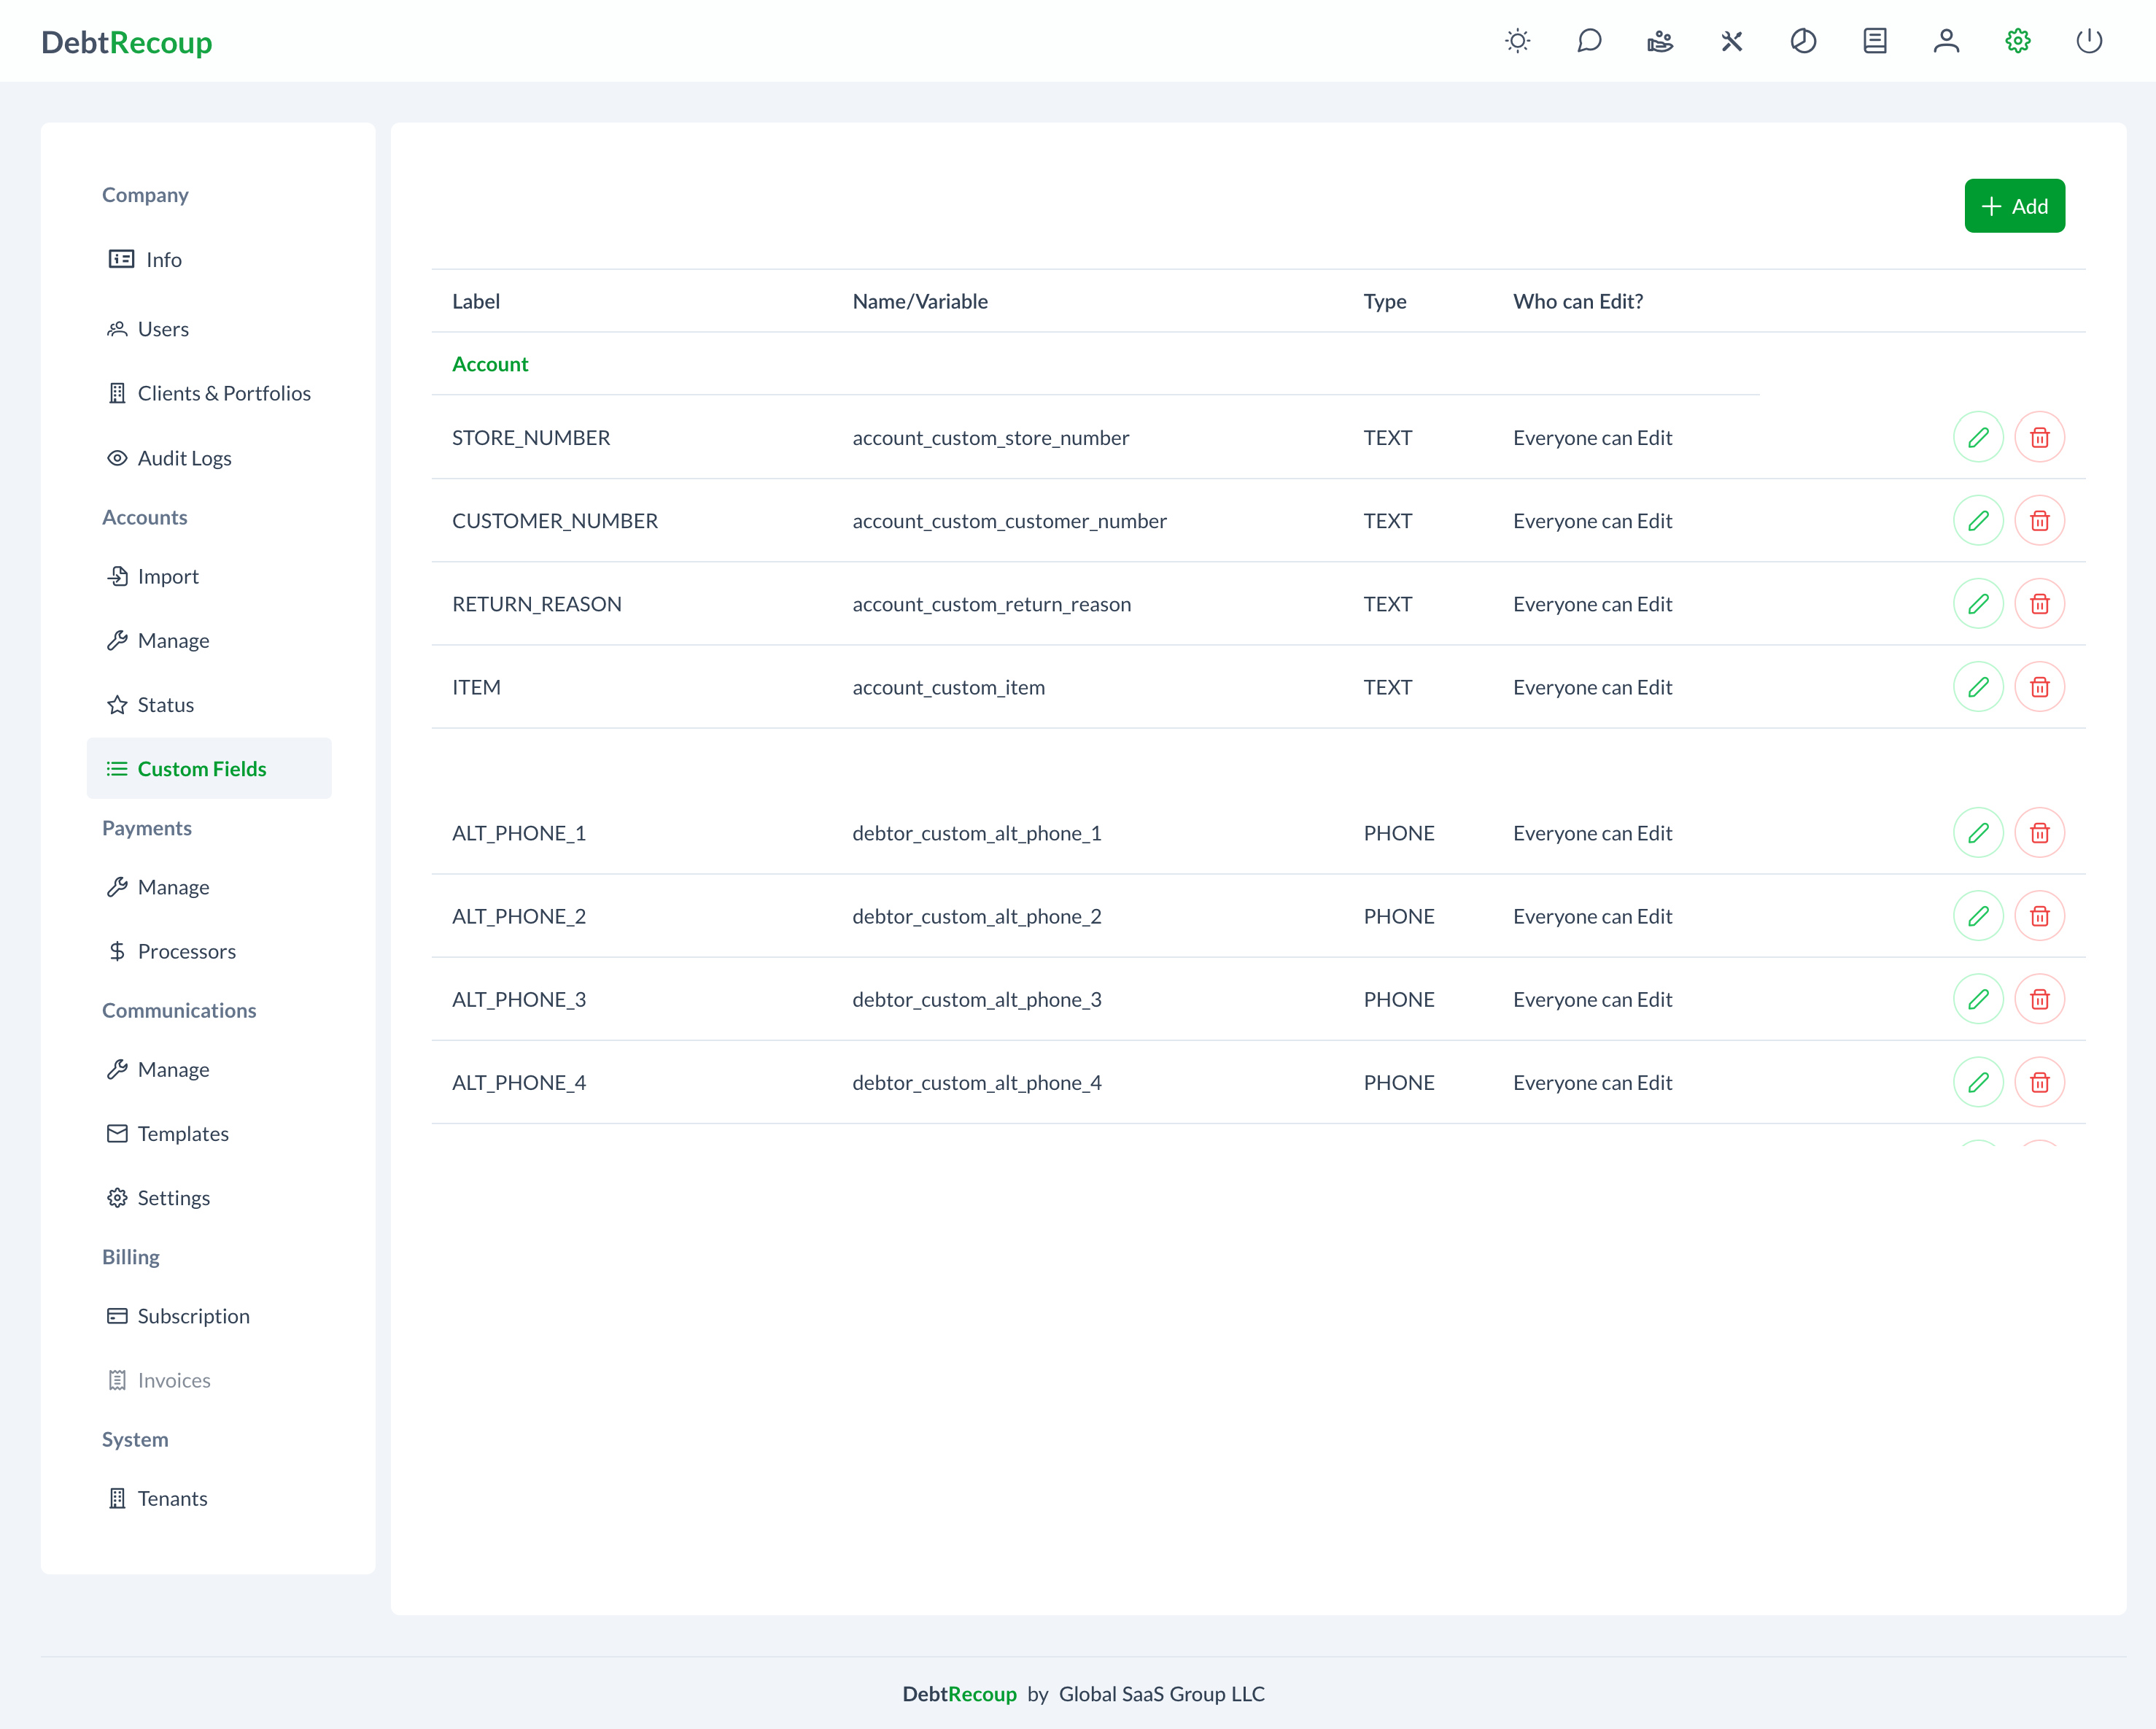
Custom Fields
Custom Fields allow organizations to track additional information specific to their business needs. These fields can be added to accounts or debtors and are visible throughout the system.
Accessing Custom Fields
- Click the Administrator button (gear icon) in the top navigation bar
- Select Accounts from the left sidebar
- Click on Custom Fields
Understanding Custom Fields
Field Categories
Custom fields belong to one of two categories:
| Category | Description |
|---|---|
| Account | Fields attached to the account record |
| Debtor | Fields attached to the debtor record |
Field Types
DebtRecoup supports four field types:
| Type | Description |
|---|---|
| Text | Free-form text entry |
| Money | Currency values |
| Date | Date picker |
| Phone Number | Phone with 10-digit validation |
Creating Custom Fields
Add New Field
- Click the Add button
- Complete field configuration:
| Field | Description |
|---|---|
| Category | Account or Debtor (required) |
| Label | Display name shown to users (required) |
| Data Type | Select from Text, Money, Date, or Phone Number (required) |
| Who can Edit | Permission level for editing this field |
- Click Save to create the field
Edit Permissions
Control who can edit custom field values:
| Option | Description |
|---|---|
| Everyone can Edit | All users including Collectors |
| Managers or above | Managers, Supervisors, Administrators |
| Supervisors or above | Supervisors and Administrators |
| Only Administrators | Administrators only |
Managing Custom Fields
Viewing Fields
The custom fields list displays:
- Field label
- Category (Account or Debtor)
- Data type
- Edit permissions
Editing Fields
- Click the Edit button (pencil icon) next to a field
- Update the Who can Edit permission
- Click Save
WARNING
The Category, Label, and Data Type cannot be changed after creation. Only the edit permission can be modified.
Deleting Fields
- Click the Delete button (trash icon) next to a field
- Confirm deletion
WARNING
Fields with existing data cannot be deleted. Remove all data first or contact support.
Using Custom Fields
In Account View
Custom fields appear in the Custom Fields tab when viewing an account. Users with appropriate permissions can edit values directly.
During Import
Custom fields can be populated during account import:
- In the import mapping step, go to the Custom tab
- Map your file columns to existing custom fields
- Or create new custom fields on-demand during import
Creating Fields During Import
- In the import mapping screen, click Add Custom Field
- Enter the field details (Name, Label, Category, Data Type, Edit Role)
- Click Save
- The new field is immediately available for mapping
Field Validation
Phone Number Fields
Phone numbers require exactly 10 digits:
- Non-numeric characters are stripped automatically
- Valid: (555) 123-4567 or 5551234567
- Invalid: 555-1234 (only 7 digits)
Date Fields
Dates use the format yyyy-MM-dd (e.g., 2024-01-15).
Best Practices
Naming Conventions
- Use clear, descriptive labels
- Keep labels brief (under 30 characters)
- Be consistent across similar fields
Planning Fields
- Identify what additional data you need to track
- Choose the appropriate data type
- Set edit permissions based on who should modify values
- Document purpose of custom fields for your team
Troubleshooting
Field Not Showing
- Verify the field was created successfully
- Check the correct category (Account vs Debtor)
- Refresh the page
Can't Edit Value
- Verify you have the required permission level
- Check your user role
Can't Delete Field
- Fields with data cannot be deleted
- Contact support for assistance with data cleanup
Related Documentation
- Import Accounts - Mapping custom fields during import
- Manage Accounts - Viewing custom field values
- Account Tabs - Custom Fields tab in account view