Import Accounts
The Import Accounts feature allows administrators to bulk upload new accounts into DebtRecoup from CSV files.
Accessing Account Import
- Click the Administrator button (gear icon) in the top navigation bar
- Select Accounts from the left sidebar
- Click on Import
Import Process Overview
The import process consists of seven steps:
- Select File - Upload your CSV file
- Data - Preview and validate data
- Mapping - Match your fields to DebtRecoup fields
- Configuration - Set import options
- Test Import - Validate a sample
- Import - Process the full file
- Finished - Review results and assign accounts
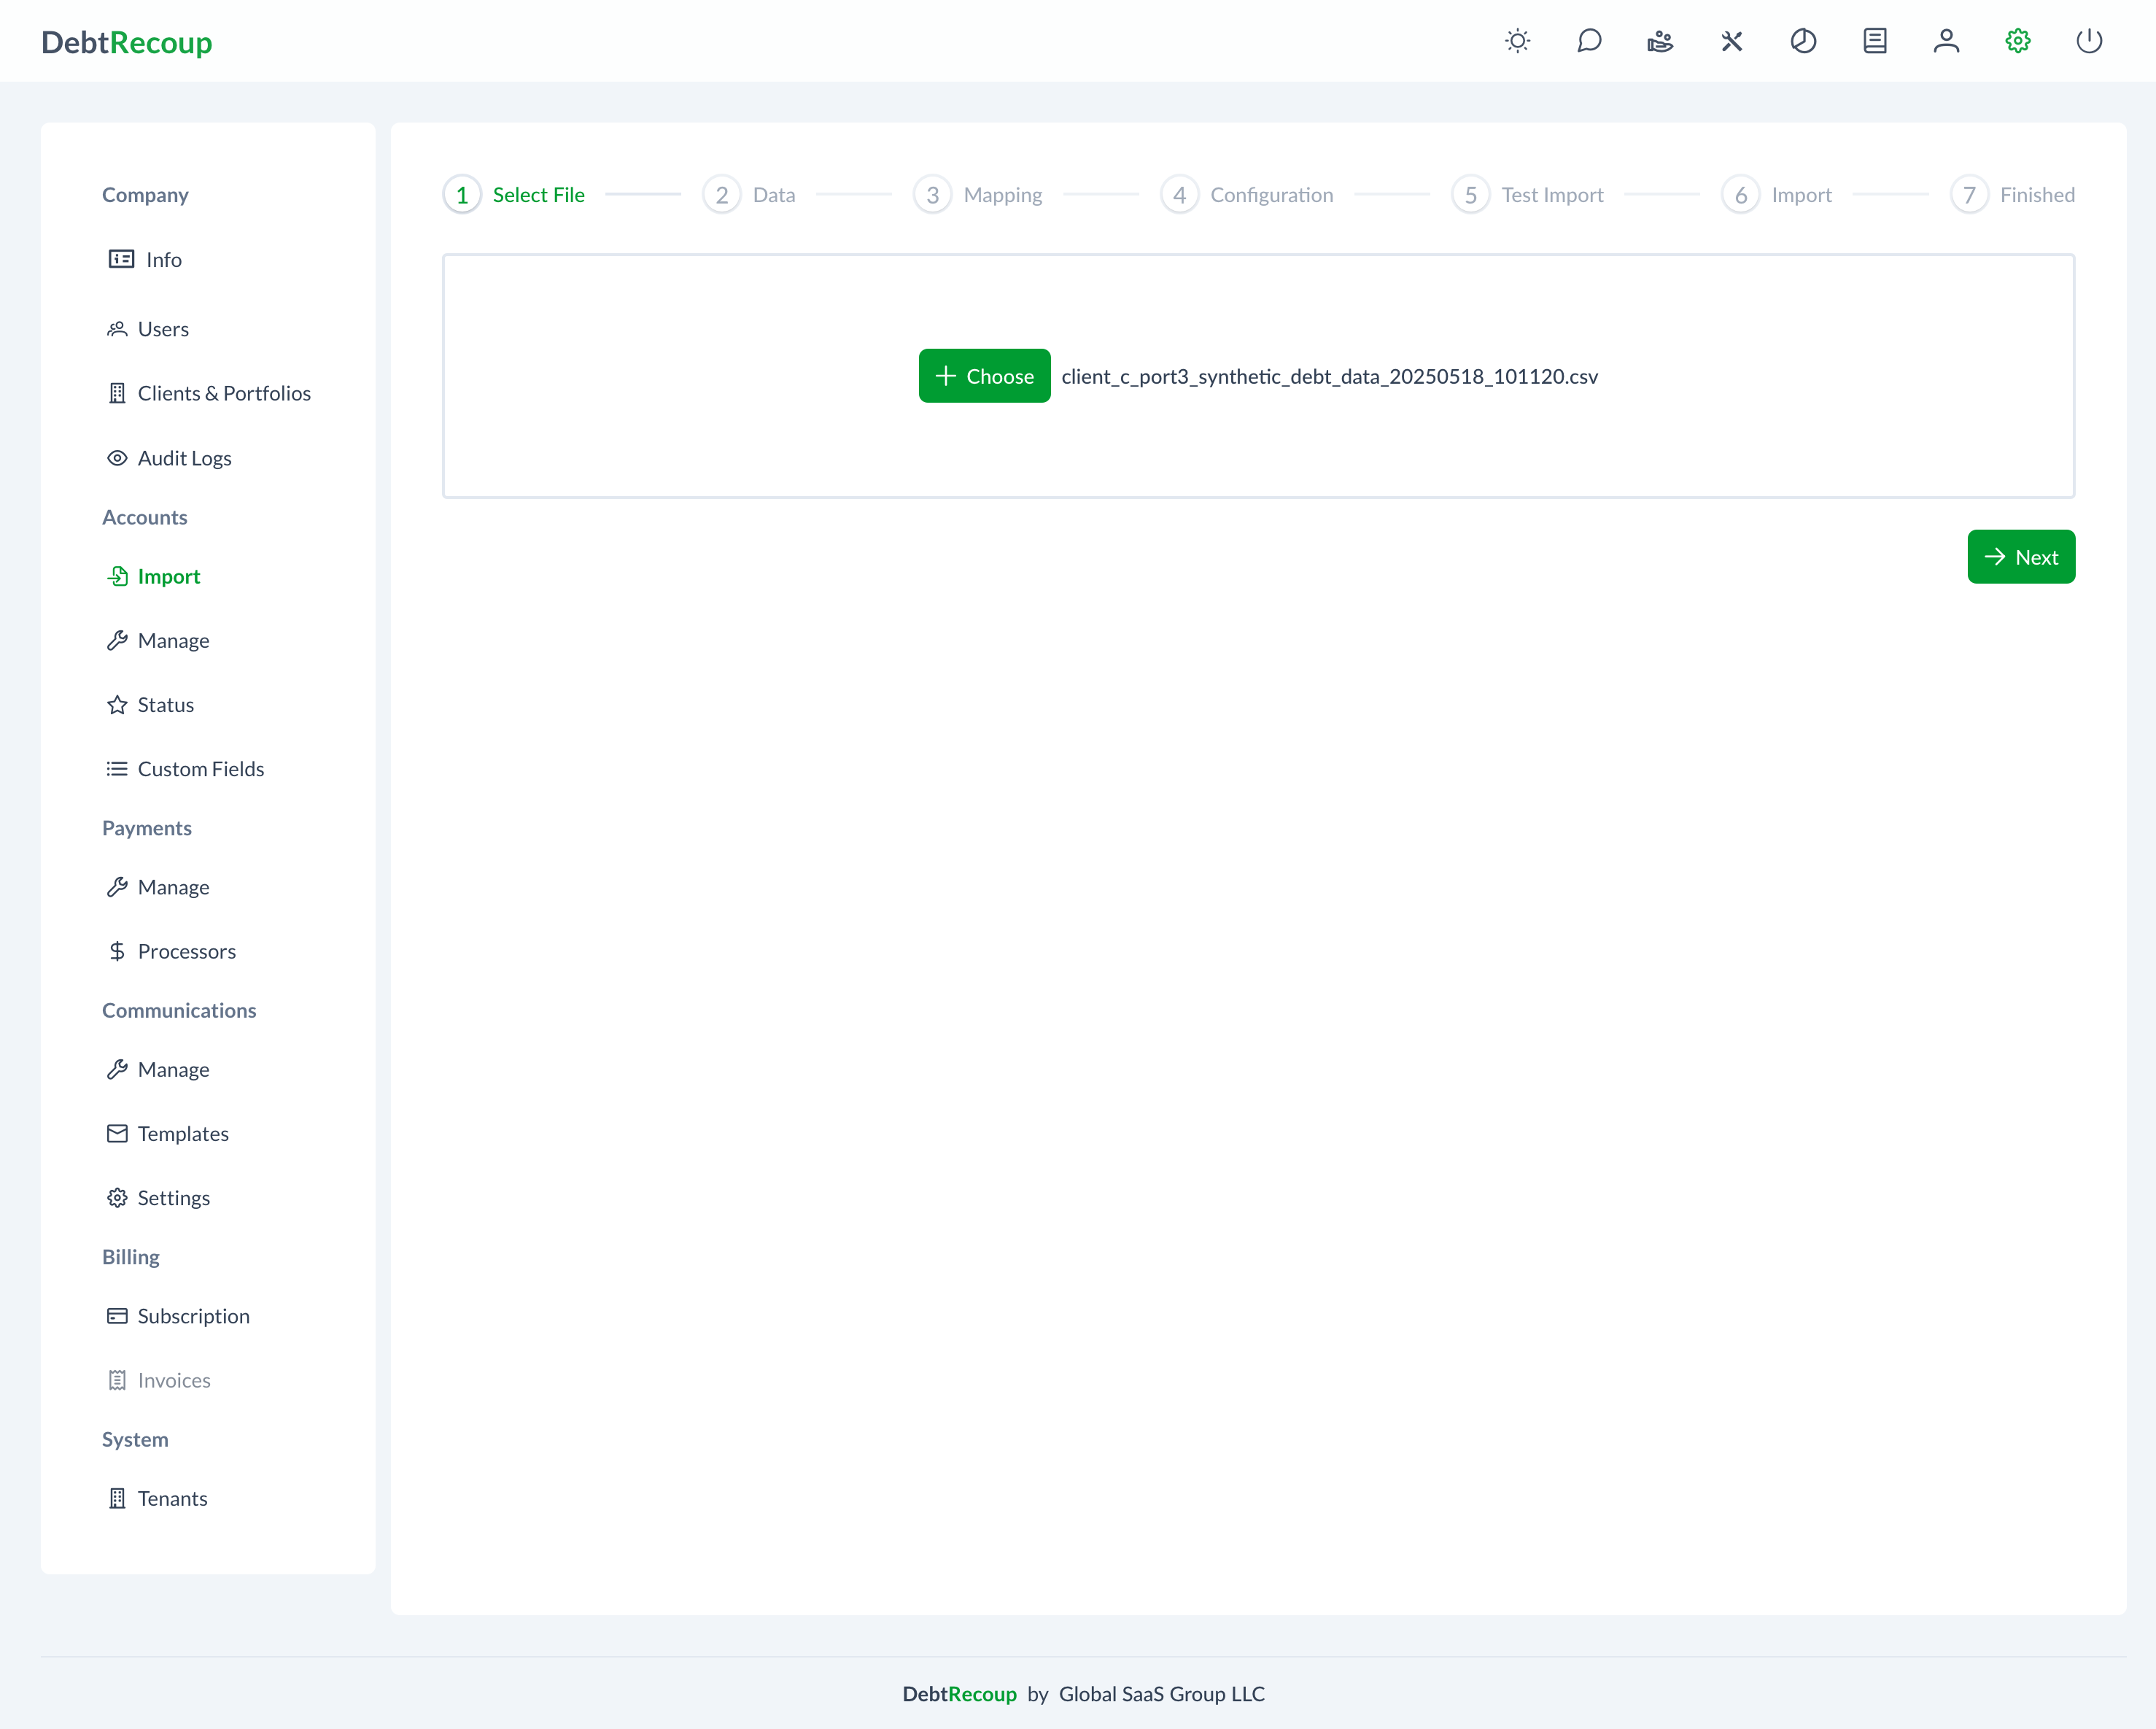
Step 1: Select File
Supported Format
DebtRecoup imports CSV (comma-separated values) files.
File Requirements
- Maximum file size: 200MB
- Must include headers in first row
- UTF-8 encoding recommended
CSV Parsing Options
Configure how your CSV is parsed:
| Option | Description |
|---|---|
| Delimiter | Character separating columns (Comma, Semicolon, Tab, Pipe, Colon) |
| Quote Character | Character enclosing text fields (Single Quote or Double Quote) |
Quote Characters
If your data contains commas or special characters within field values, ensure those values are wrapped in quotes. Select the matching quote character used in your file.
Preparing Your File
Essential fields to include:
- Account number (unique identifier)
- Debtor name (first and last)
- Original creditor
- Current balance
- Charge-off date
Recommended fields:
- Social Security Number
- Date of birth
- Phone numbers
- Address information
- Original balance
- Last payment date
Step 2: Data Preview
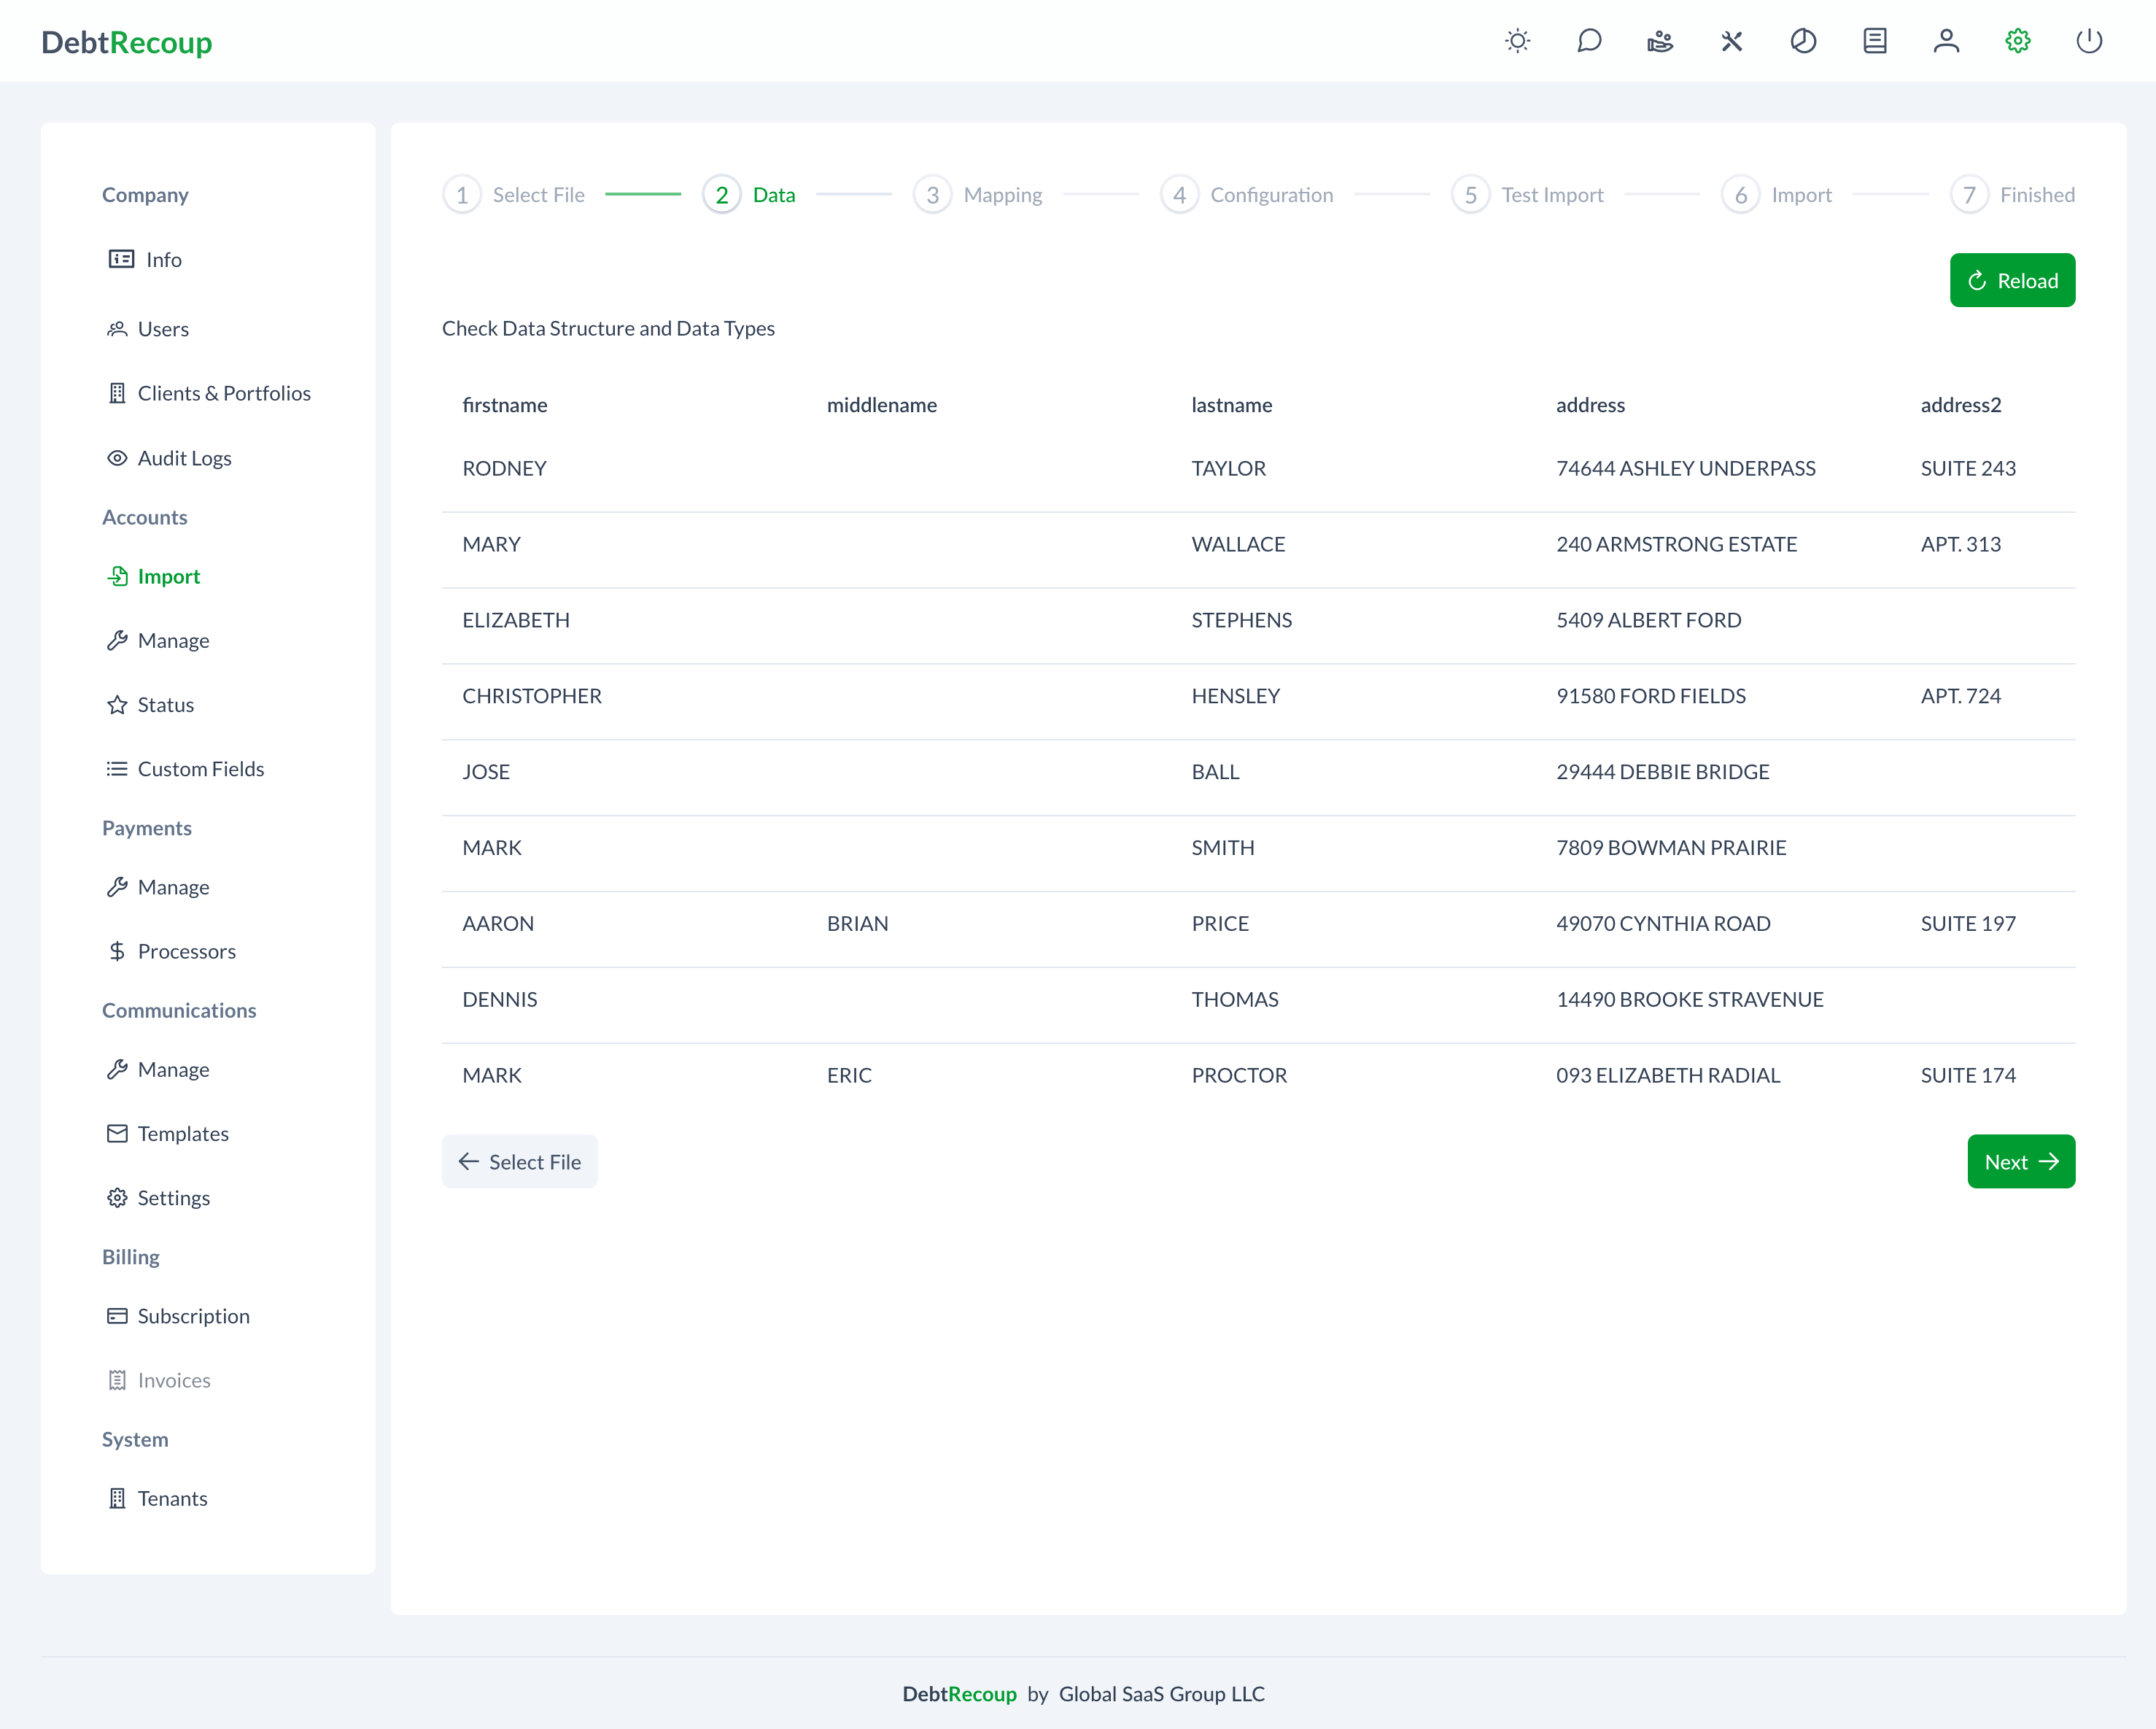
After uploading, review your data:
- Record Count: Total accounts to import
- Column Headers: Detected field names
- Sample Data: First records displayed
Common Data Issues
Invalid Characters
- Remove special characters from currency fields
- Ensure phone numbers use consistent format
Date Formatting
- Use MM/DD/YYYY or YYYY-MM-DD
- Ensure consistent format throughout
Step 3: Field Mapping
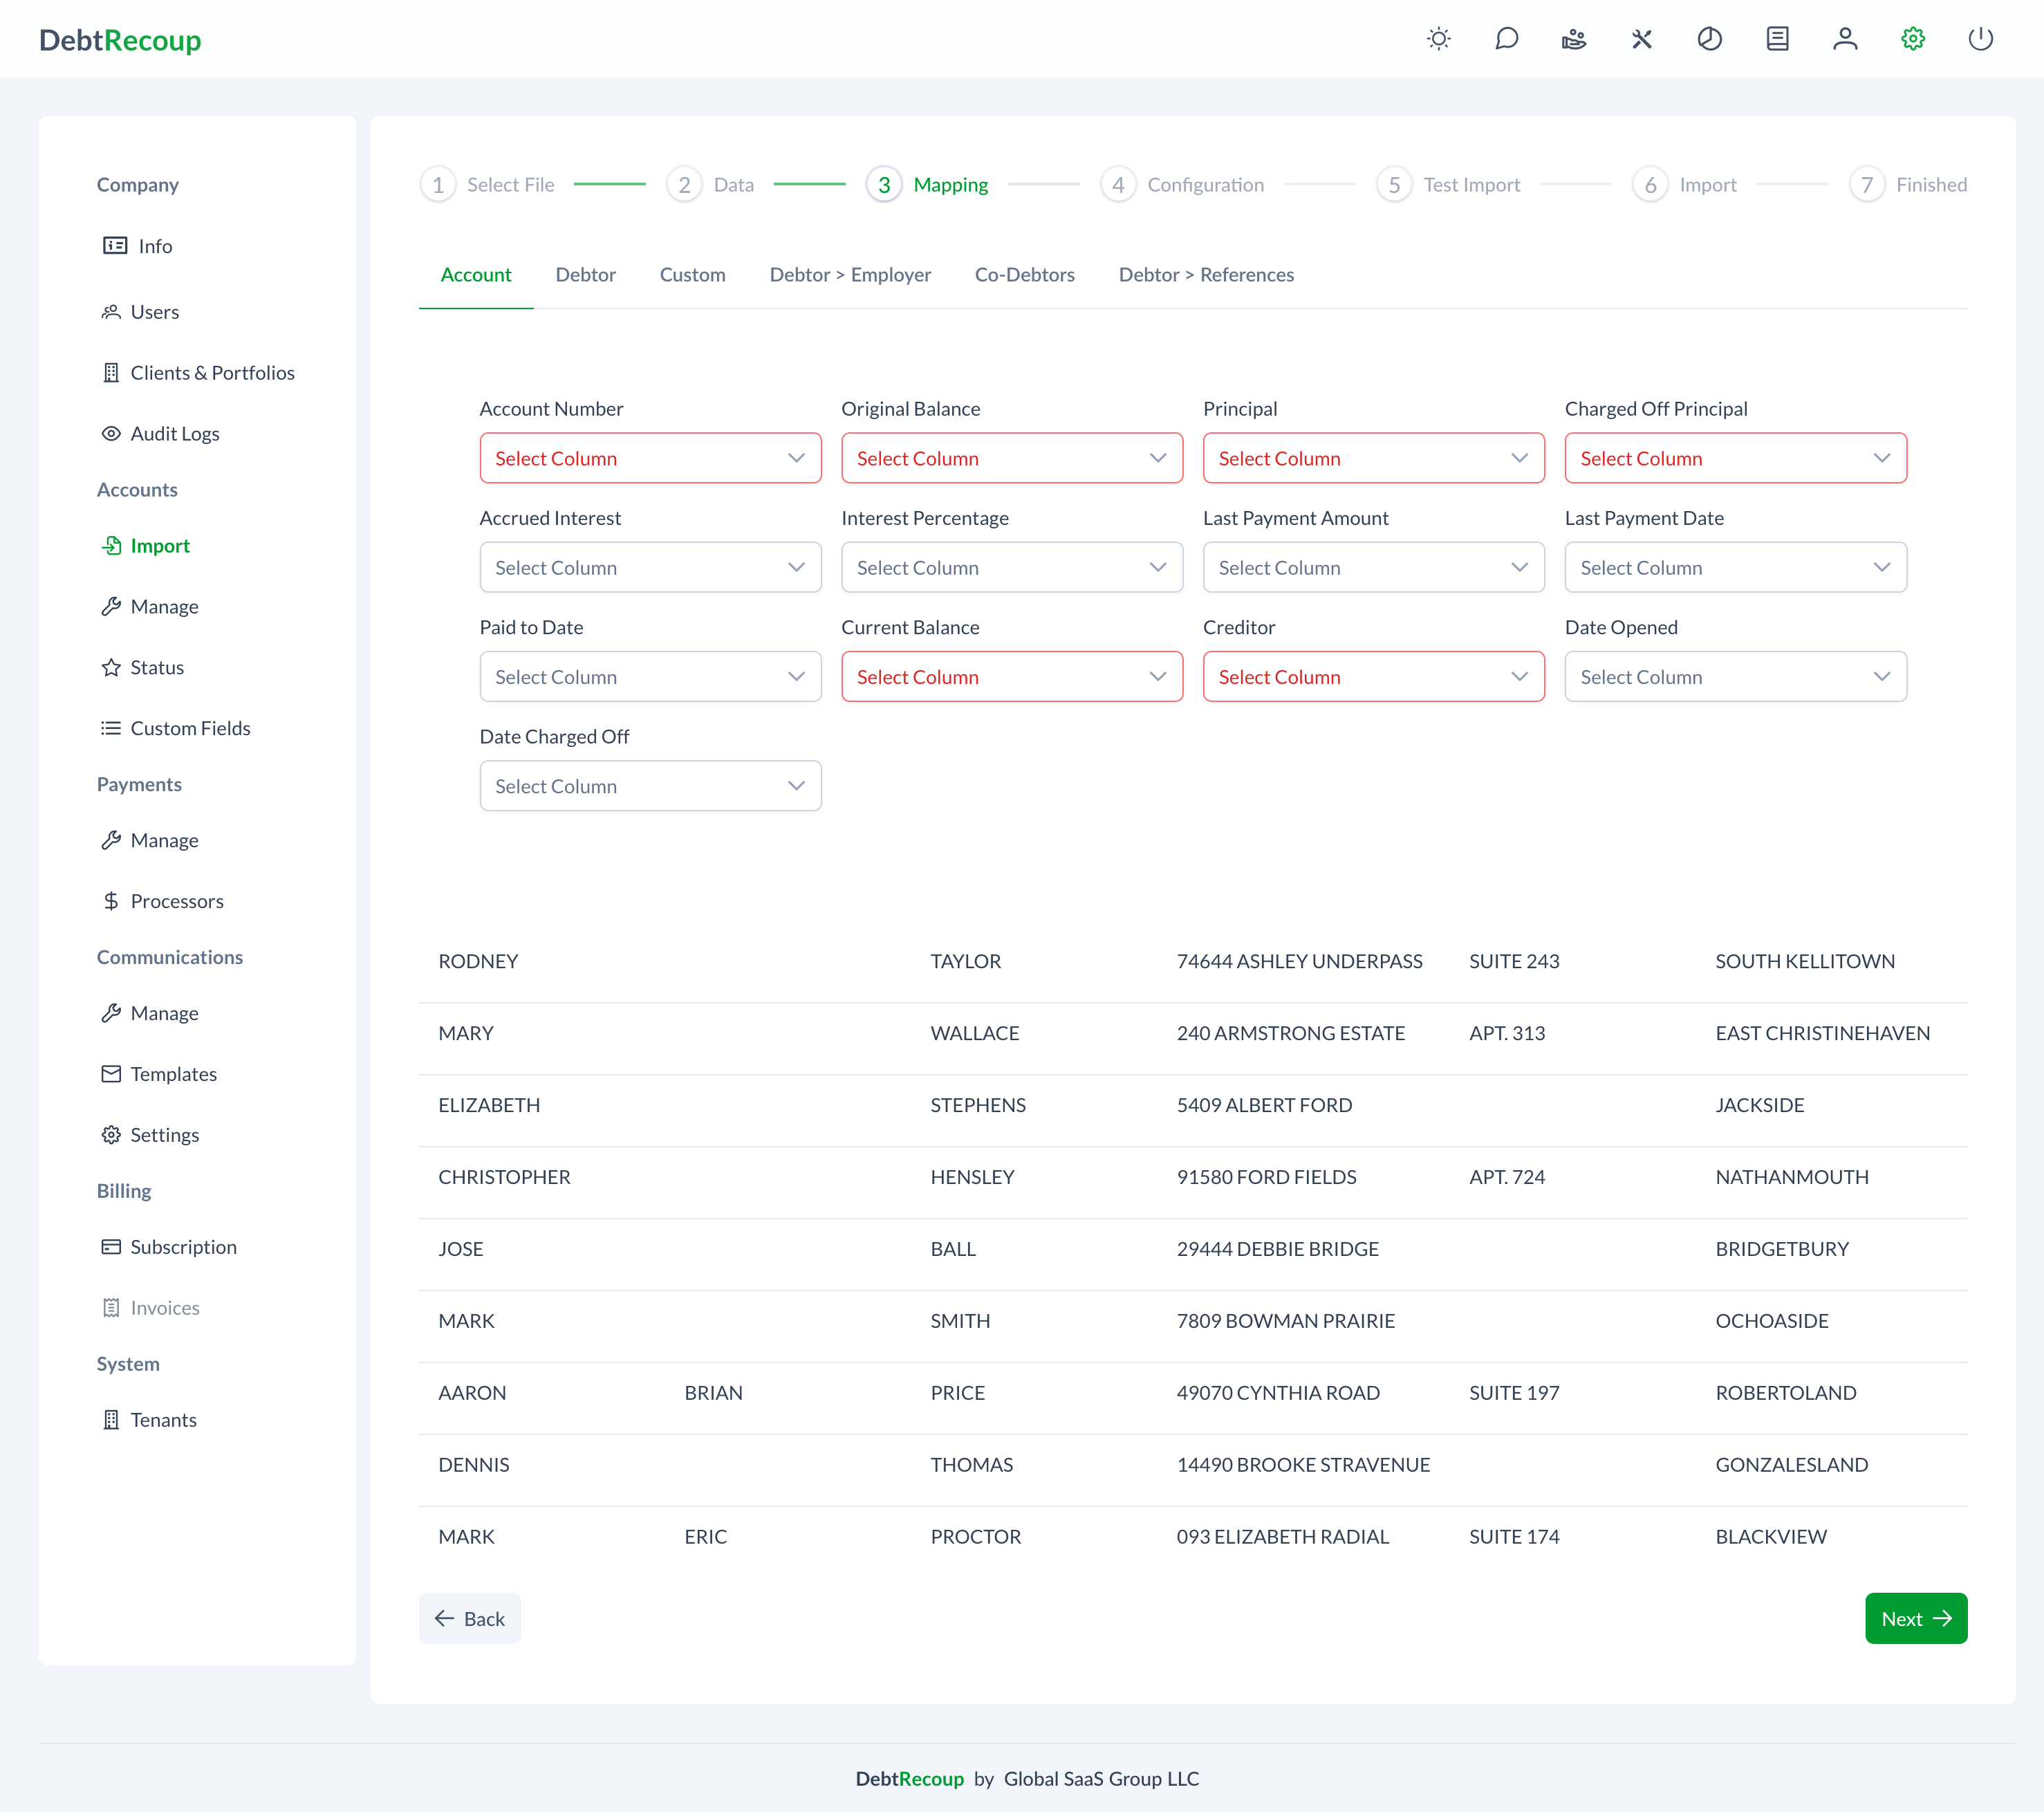
Mapping Process
The mapping screen uses tabs to organize field categories:
- Automatic Matching: System attempts to match common field names
- Manual Mapping: Select DebtRecoup field for each column
- Required Fields: Must be mapped (marked with asterisk)
- Optional Fields: Map if available in your data
- Skip Columns: Leave unmapped to ignore
Required Field Mappings
- File Number: Unique identifier
- Debtor First Name: Primary debtor's first name
- Debtor Last Name: Primary debtor's last name
- Current Balance: Amount owed
- Client: Select from dropdown
- Portfolio: Select target portfolio
Import Mode
The import mode is determined automatically:
- Insert Mode: Used when UUID field is not mapped (creates new accounts)
- Update Mode: Used when UUID field is mapped (updates existing accounts)
In Update mode, accounts are matched by UUID and updated with new data. Records without matching UUIDs are skipped.
Multiple Data Sets
DebtRecoup supports importing multiple phones, addresses, and references per account.
Adding Multiple Phone Numbers
- Navigate to the Debtor Phones tab in mapping
- Click the + button to add another phone set
- Map columns for Phone 2, Phone 3, etc.
- Use the - button to remove extra phone sets
Adding Multiple Addresses
- Navigate to the Debtor Addresses tab in mapping
- Click the + button to add another address set
- Map columns for each address field
- Each address set includes street, city, state, zip fields
Adding Multiple References
- Navigate to the Debtor References tab in mapping
- Click the + button to add another reference set
- Map columns for each reference
Creating Custom Fields On-Demand
If your import file contains data that doesn't match existing fields:
- Navigate to the Custom tab in mapping
- Click the + Custom button
- Fill in the custom field details:
- Name - Field identifier
- Label - Display name
- Category - Account or Debtor
- Data Type - Text, Money, Date, or Phone Number
- Edit Role - Minimum role required to edit
- Click Save
- The new field appears immediately and can be mapped
Step 4: Configuration
Configure import settings:
| Setting | Description |
|---|---|
| File Number | System-generated or from file |
| Initial Status | Default status for imported accounts |
| Contingency Rate | Default rate for the portfolio |
| Fee Type | Fee calculation method |
| Client | Select the client |
| Portfolio | Select the target portfolio |
Step 5: Test Import
Always Test First
Run a test import with a sample of records to verify mapping and settings before full import.
Test Import Process
- Click Test to process a sample
- System validates using your mappings
- Review results and any errors or warnings
- Adjust mappings if needed
- Repeat test until satisfied
Step 6: Full Import
Once testing is successful:
- Click Import (or Insert/Update depending on mode)
- Progress indicator shows status
- Large imports process in the background
- You can continue working while the import runs
Step 7: Import Results
Review Results
After import completes:
- Total records processed
- Successful imports
- Any errors or skipped records
Assign Accounts
Click Assign Accounts to go to the Manage Accounts page where you can:
- Filter to the newly imported accounts
- Select accounts
- Use bulk assignment to distribute to collectors
Import History

Accessing Import History
- Navigate to Administration → Accounts → Import
- Click the History tab
Import History Table
| Column | Description |
|---|---|
| Timestamp | Date and time the import was started |
| File | Original filename |
| Mode | Insert or Update |
| Accounts | Number of accounts in the file |
| Step | Current step (IMPORTED for completed imports) |
Available Actions
For Completed Imports:
- Download File - Download the original import file
For Unfinished Imports:
- Resume Import - Continue an interrupted import
- Download File - Download the original import file
- Delete Import - Remove the unfinished import
TIP
If an import was interrupted, you can resume it from the History tab. The import will continue from where it stopped.
Best Practices
Data Preparation
- Cleanse Data: Remove duplicates, fix formatting
- Standardize: Consistent date and phone formats
- Validate: Check for required fields
- Backup: Keep original file unchanged
Import Strategy
- Test First: Always use the test import feature
- Check Mappings: Verify field mappings are correct
- Review Results: Check a sample of imported accounts
- Document Process: Note which columns map to which fields
Troubleshooting
Common Import Errors
"Invalid Date Format"
- Standardize all dates to MM/DD/YYYY or YYYY-MM-DD
- Remove text from date fields
"Required Field Missing"
- Ensure all required fields are mapped
- Check for blank values in required columns
"Number Format Error"
- Remove currency symbols from balance fields
- Check for text in number fields
Related Documentation
- Manage Accounts - Working with imported accounts
- Custom Fields - Setting up custom fields
- Client & Portfolio Management - Creating portfolios for imports
- Bulk Operations - Assigning accounts after import